 Alright…so one of my desires the past 6 months or so has been to become a little more “domestic”. It’s been quite fun. Family meals have been planned better, eventhough the boys tell me, religiously “I don’t like that” when I tell them what’s for dinner…doesn’t every mom from the beginning of time hear that one??
In amongst me being all “domestic” I have hit some MAJOR scores…one of which I even gave out as Thanksgiving lovies this past year.
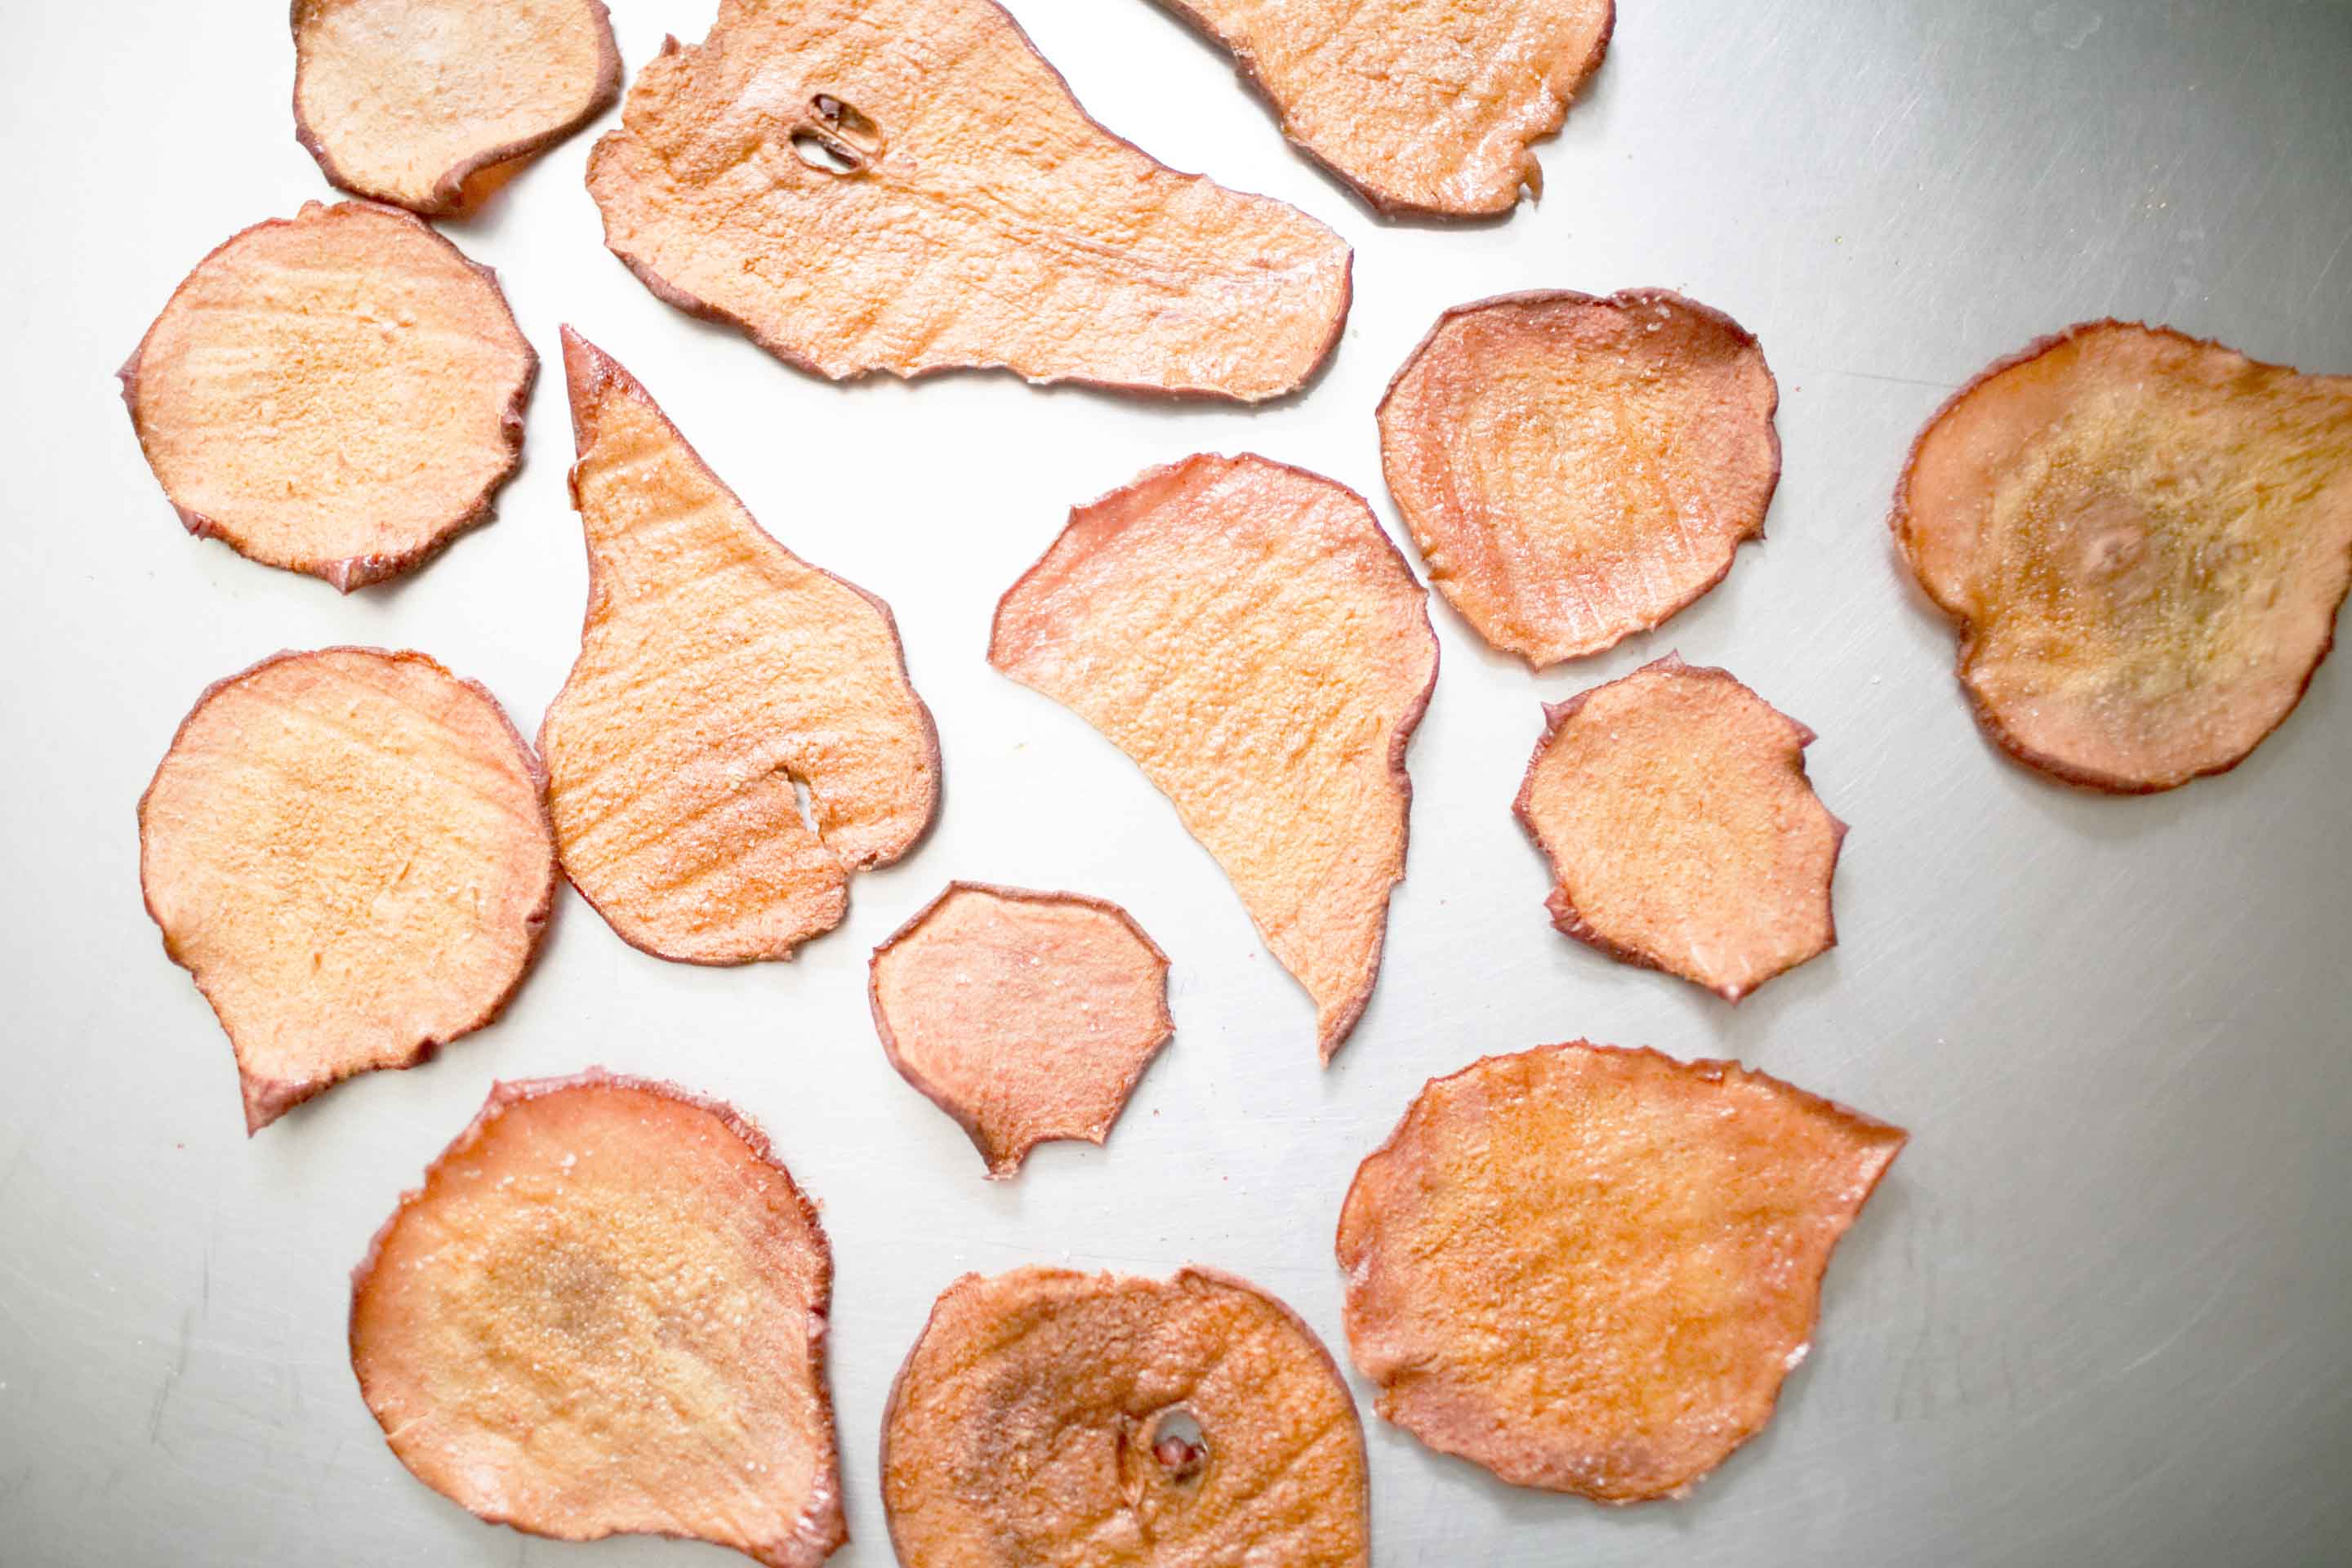
The Pear Chip.
I got the idea from Martha Stewart, naturally, but have been able to perfect it a little being that I live in Houston, one of THE most humid places in the world, and baking time varies a little depending on how cool it is outside.
It was such a hit, I thought I would share, and make it as easy as possible that all you need to do is click on links and go purchase some produce so that all of you can make your batches this weekend.
Here are the needs:
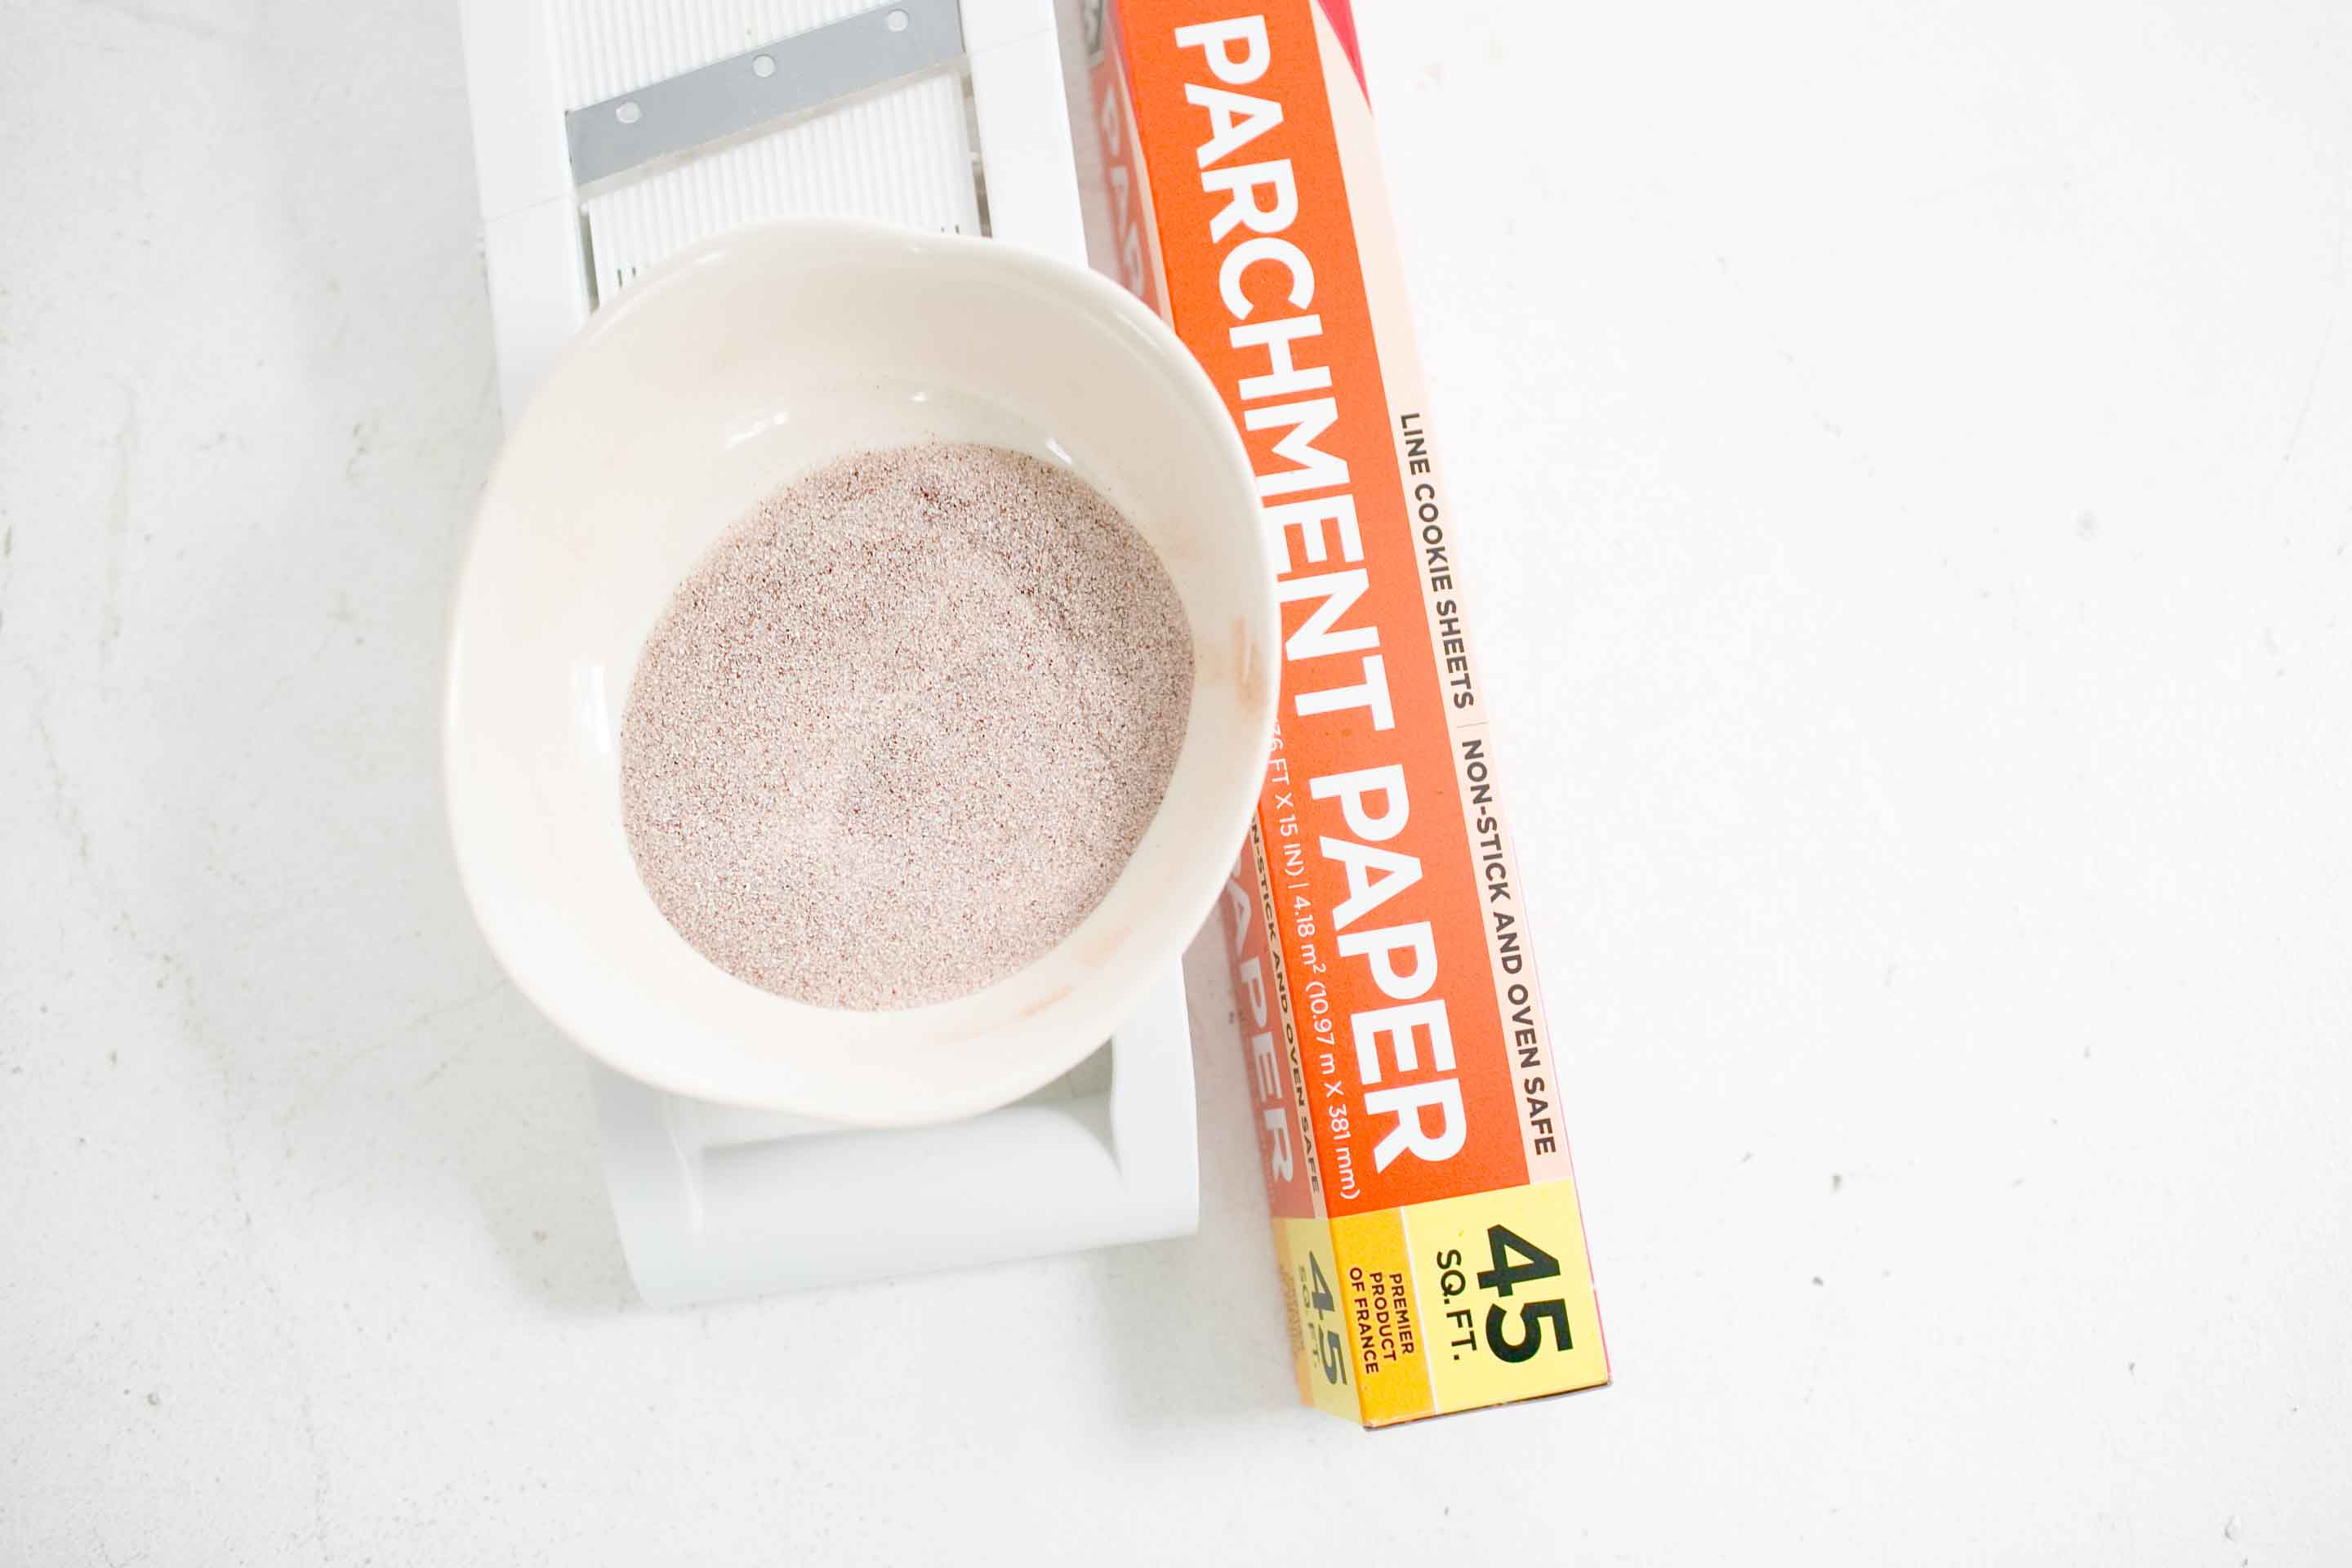
Mandoline – like the one I bought here.
Large, no side, baking sheet – like this one here.
Pears – got get them at your store.
Cinnamon/sugar…I actually made my own and just mixed the two, but I know they have them pre-mixed in your baking aisle at the grocery store too.
Parchment paper – at the store, or ordered here.
Then…imagine this…its CRAZY easy…just give yourself some time…it is a slow process.
Preheat your oven to 250 degrees.
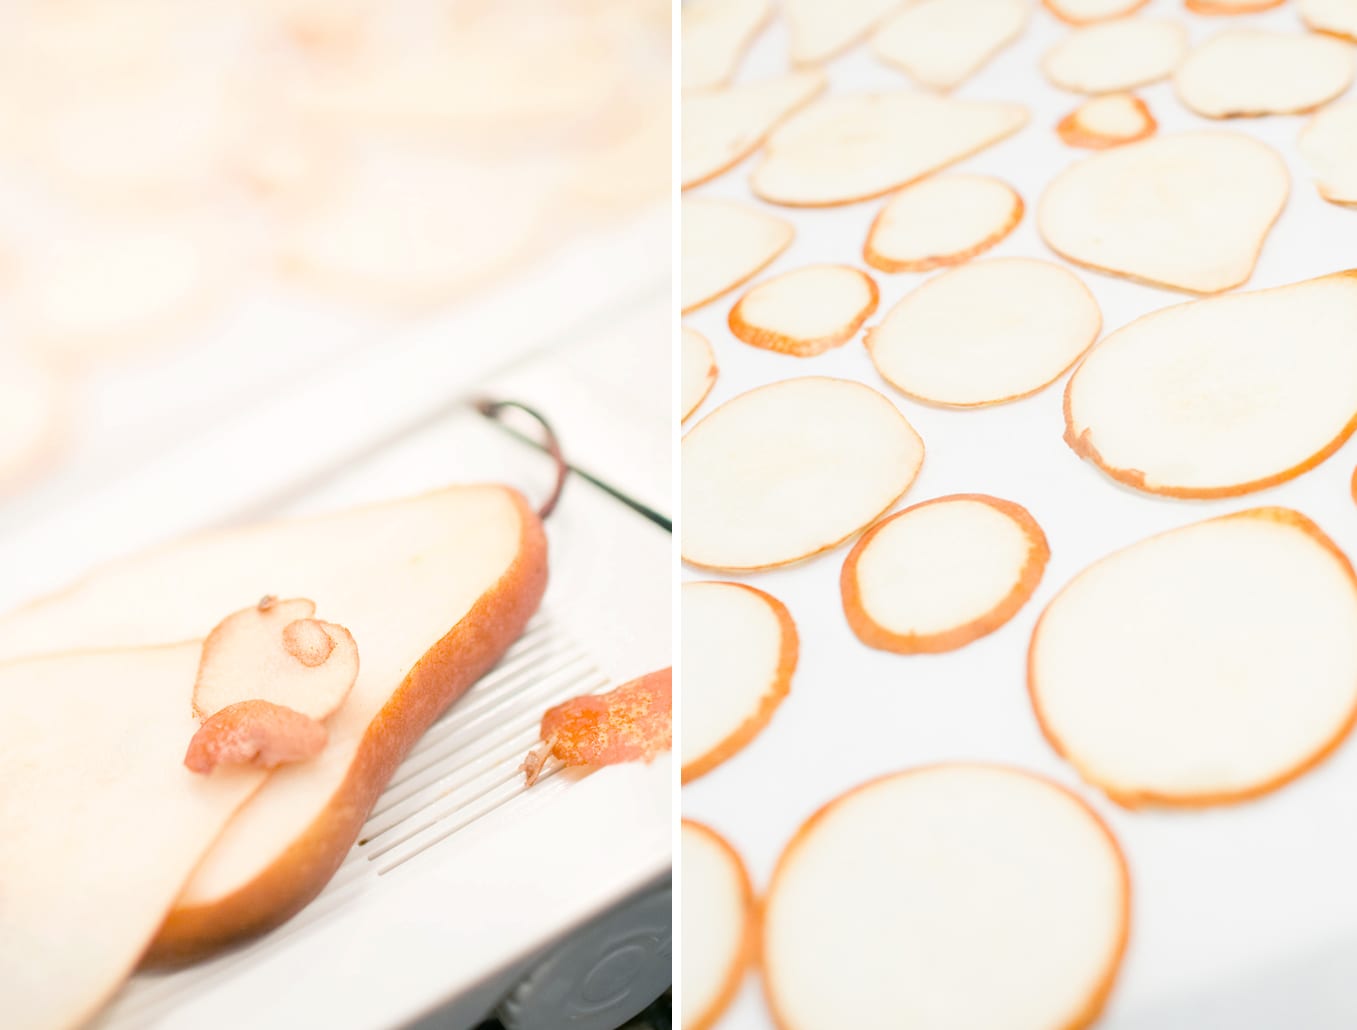 Slice up your pears on your mandoline.
I made them pretty slim…but not too fine or else then fall apart on you.
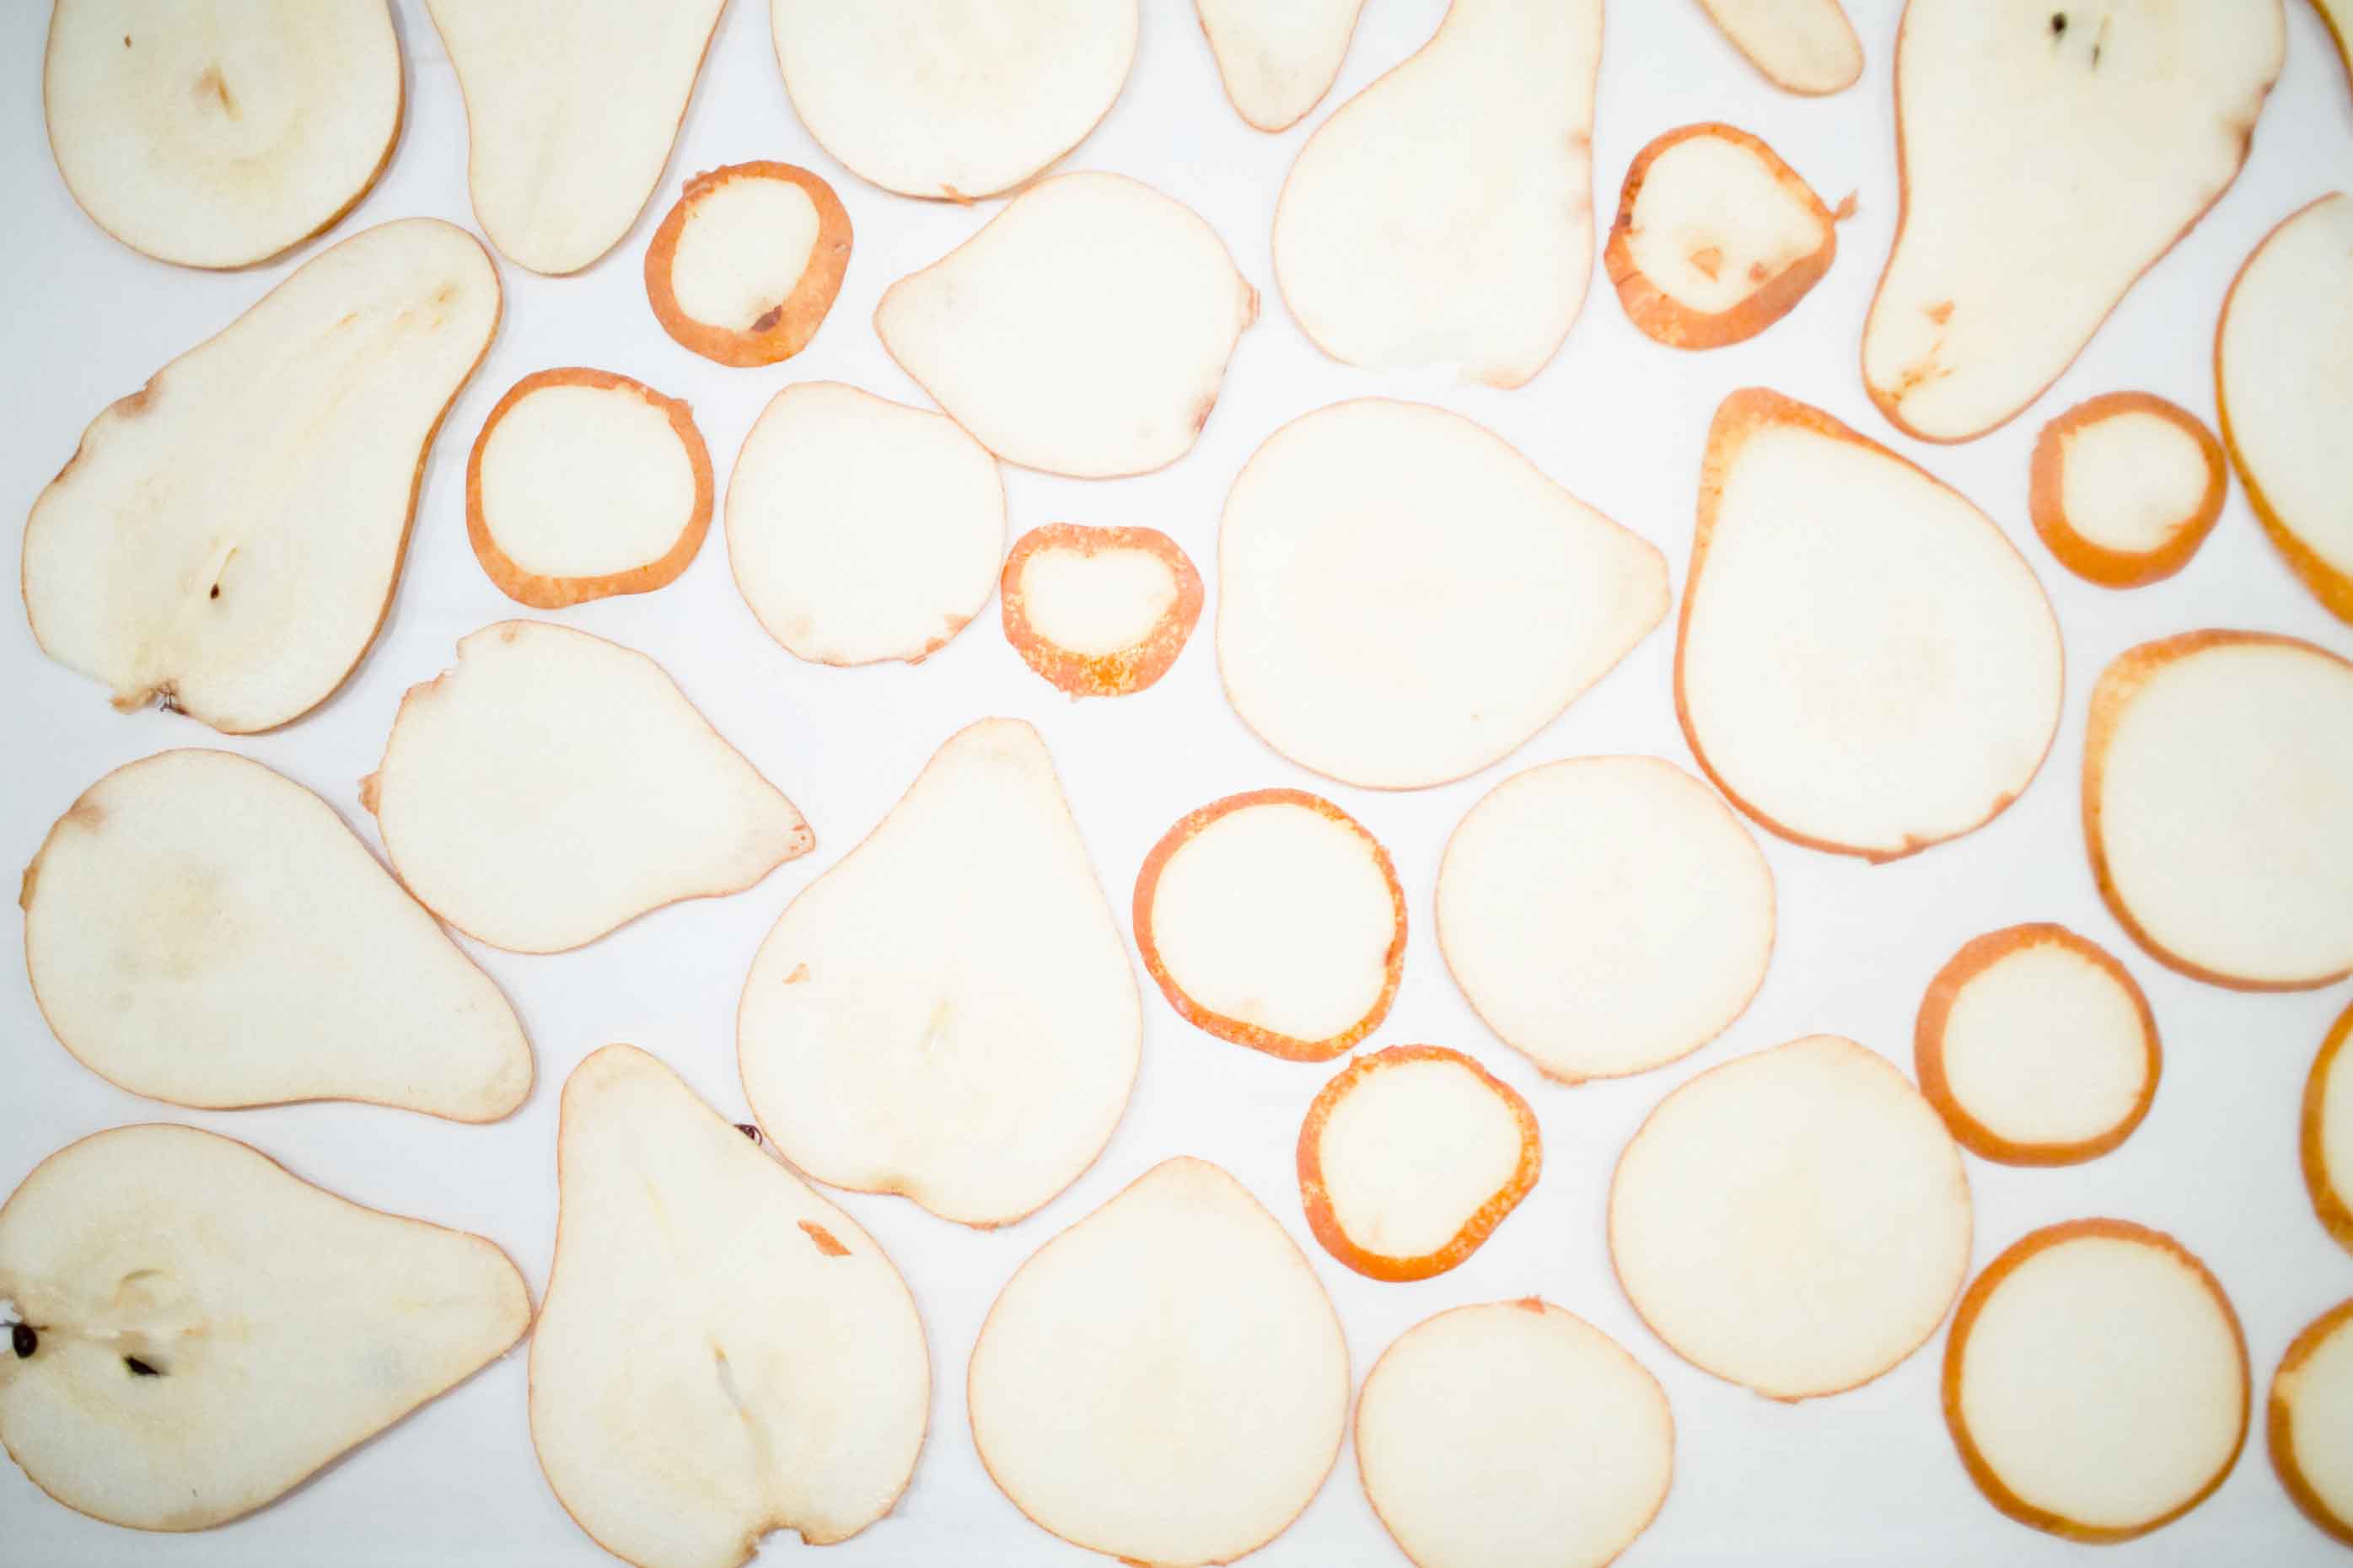 Lay them out evenly on your baking sheet covered in parchment paper.
The sprinkle them with your fairy dust of cinnamon & sugar.
 Throw them in on the center rack for 1 hour/20 mins.
Take them out and flip them.
Throw them back in for 1 hour/20 mins.
Done.
Let them sit and cool off and really crisp up.
Then Enjoy!!